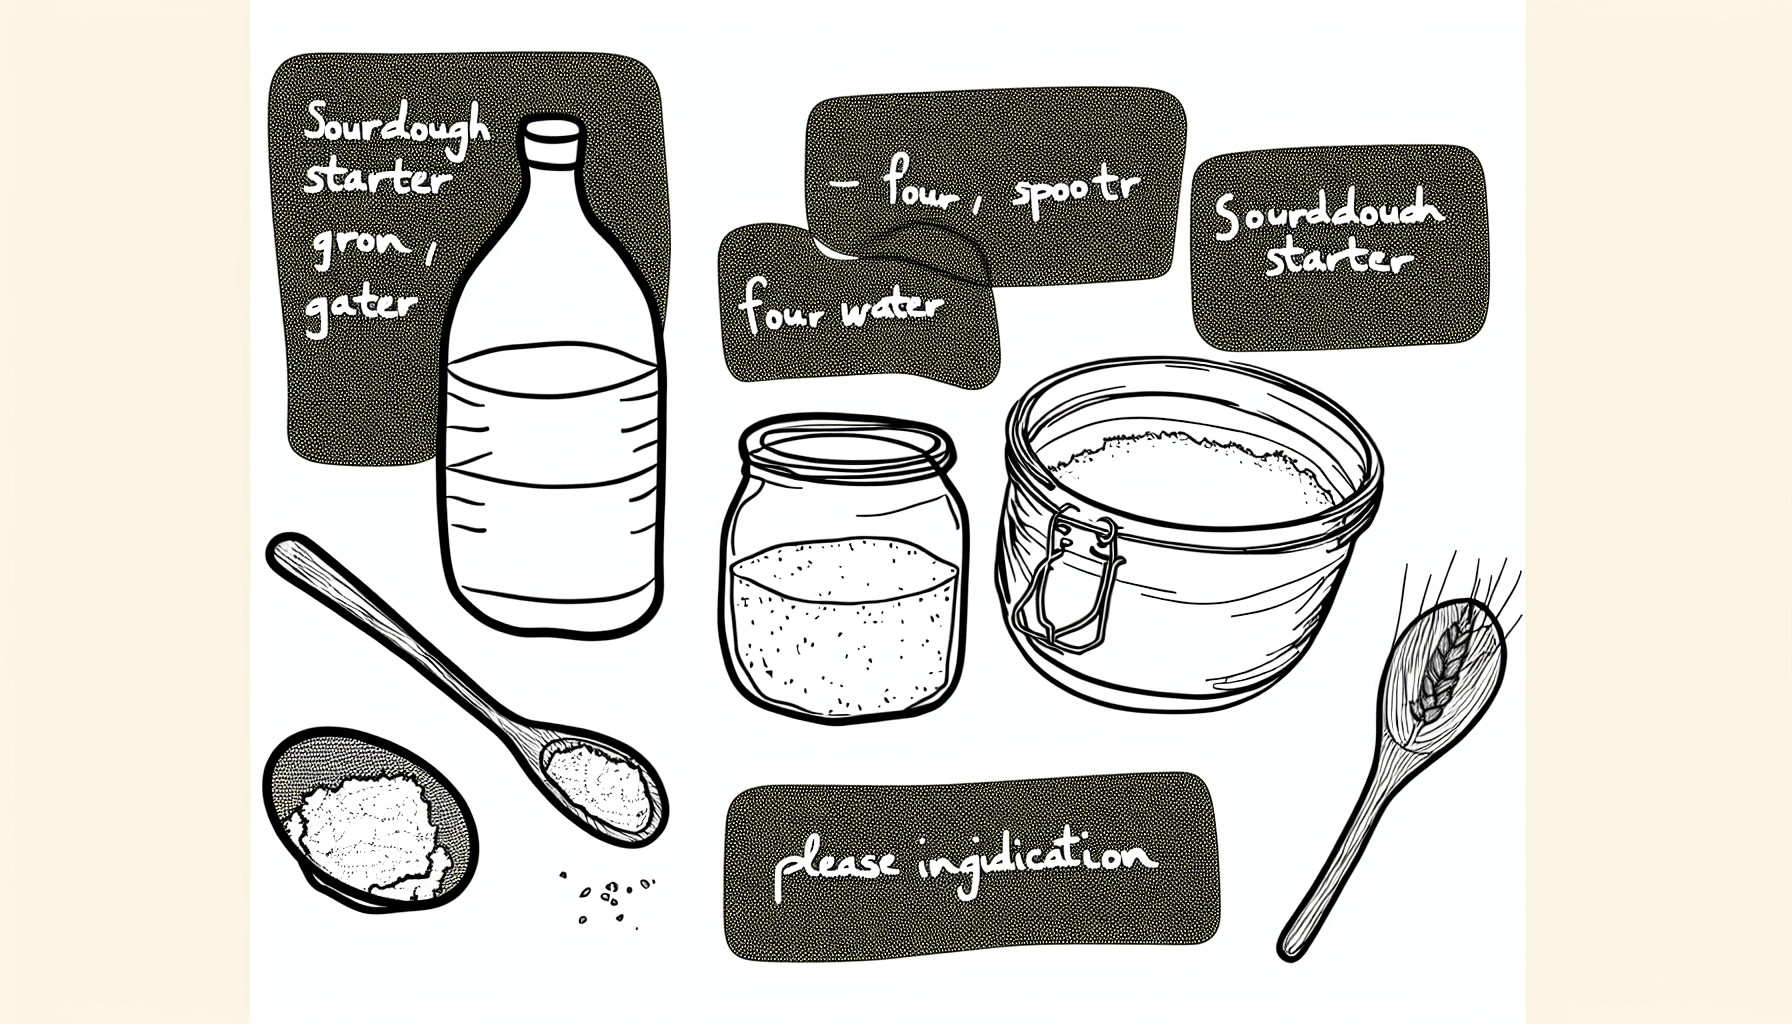
Sourdough Starter Recipe: Unlock the Secrets to Homemade Bread
Understanding Sourdough Starter: What Is It and Why You Need It
Have you ever wondered what makes sourdough bread so unique? It all starts with a sourdough starter. This magical mixture of flour and water is home to wild yeast and bacteria that work together to leaven your bread and create those delightful flavors we all love. Unlike commercial yeast, sourdough starter offers a depth of flavor and aroma that is truly one-of-a-kind. You might say it’s the soul of sourdough bread!
Creating a sourdough starter is an enjoyable project that connects you to the ancient art of bread making. It’s remarkable how flour and water can transform into a bubbly, active culture that can last for years with proper care. The flavors developed during fermentation are complex and tangy, adding rich notes to your final loaf. So, why should you have a sourdough starter? Well, for one, it allows you to take control of your bread-making process. You can feed your starter with different types of flour, experiment with hydration levels, and tailor the fermentation time to your liking, leading to endless possibilities in terms of flavor and texture.
Moreover, using a sourdough starter is not just about making bread; it can enhance pizza dough, pancakes, and a variety of baked goods. Once you’re comfortable with your starter, you can explore the vast world of sourdough recipes. Always remember that patience is key in this process; nurturing your starter can take time, but the results will be well worth the wait!
“Bread is a symbol of life. Sourdough represents caring and the love for good food.”
-
1
Start with equal parts flour and water -
2
Stir until well combined -
3
Let it sit at room temperature
-
Remember to feed your starter regularly! -
Experiment with different flours for various results
Tip: When you find your starter is really active, that’s when the magic happens! Your breads will rise beautifully with that peaky, airy texture we all admire.
Make sure to keep an eye on your starter’s smell and appearance. If it develops a pinkish tint or smells off, it’s best to discard it and start anew.
Every starter is unique. Don’t get discouraged if it takes a little longer than expected to start bubbling up. Keep feeding it and be patient!
| Ingredient | Amount | Notes |
|---|---|---|
| Flour | 500g | Bread flour recommended |
| Water | 400ml | Room temperature |
Cooking is a joy, and creating your own sourdough starter can be a delightful adventure in flavor. Enjoy the process and don’t rush! The best things in life take time.
After all, once you master this age-old technique, you’ll have a starter that can go the distance, producing delicious loaves for years to come. Who knows what kind of bread you’ll create? Happy baking!
Step-by-Step Guide: How to Make Your Own Sourdough Starter
Are you curious about how to create your own sourdough starter from scratch? Making your own starter can seem daunting at first, but trust me, it’s easier than you might think, and I’ll walk you through it step by step! This is not just a baking technique; it’s an art and a science all rolled into one. The feeling of nurturing your starter and transforming simple ingredients into something extraordinary is just magical.
To start, you’ll need two basic ingredients: flour and water. Yes, that’s it! But the magic happens when you allow these ingredients to ferment over time. I remember my first attempt—it was a chaotic mix of excitement and uncertainty. But let me tell you, the aroma that filled my kitchen during the fermentation process was a revelation. It’s as if the yeast and bacteria were throwing a party, and I was invited!
Creating the Starter
Begin by mixing equal parts of flour and water in a clean bowl. I often use about 100 grams of each to start. The consistency should be like a thick pancake batter. Cover the bowl with a clean cloth and let it sit at room temperature for 24 hours. You might not see much happening at first, but trust me, patience is key! The wild yeast already present in the flour is starting to wake up and get ready for the party.
Feeding Your Starter
After the first 24 hours, it’s time to feed your starter. Discard half of the mixture (you can’t keep everything!). Then, add another 100 grams of flour and 100 grams of water to the remaining mixture. Stir it all together and cover it again. This process needs to be repeated every 24 hours. On the third or fourth day, you should start seeing some bubbles—this is a great sign! It shows that your starter is coming to life. The smell will also begin to shift from a floury scent to a tangy, slightly sour aroma. It’s a fantastic transformation!
Remember to keep your starter in a warm place, away from drafts. If your kitchen is cold, a good tip is to place it on top of your refrigerator or inside the oven with the light on.
Using Your Sourdough Starter
Once your starter is bubbly and has doubled in size within a few hours of feeding, it’s time to use it! You can make delicious sourdough bread or pancakes. How great is that? If you’re not ready to bake yet, you can store it in the fridge. Just remember, you’ll need to feed it at least once a week if it’s in the fridge to keep it alive and kicking.
If your starter develops a layer of liquid called “hooch” on top, it means it’s hungry! Just stir it in before feeding or pour it off if you prefer.”
Troubleshooting Your Starter
Sometimes things can go awry. If your starter isn’t bubbling up like it should, it might be a temperature issue or that the flour you’re using lacks the necessary nutrients. Experiment with different types of flour, like whole wheat flour or rye, which are richer in nutrients and can kick-start your starter’s activity!
Try to keep notes of your starter’s growth progress, feeding schedule, and any observations. It helps not only track its development but also to troubleshoot any issues you might encounter along the way.
Above all, enjoy the process! Making sourdough starter might seem a bit like a science experiment at times, but it’s also a wonderful journey into the world of bread-making. Happy baking!
Troubleshooting Common Sourdough Starter Issues
Creating your own sourdough starter can be a wonderfully rewarding experience, but it doesn’t always go as planned. Whether it’s a sluggish response, sour smell, or layer of liquid on top that has you scratching your head, this guide will help clarify common issues and solutions. It’s like having an experienced friend by your side; trust me, I’ve been there! So let’s roll up our sleeves and dive into the most frequent sourdough starter hiccups.
If your starter doesn’t seem to be rising or bubbling, it could be too cold or not receiving enough nutrients. Place it in a warmer spot or feed it more regularly.
A common issue is the layer of liquid that forms on top of the starter, which is often referred to as ‘hooch.’ This indicates that your starter is hungry! If this happens, simply pour off the hooch and give your starter a good feeding. In some cases, the smell can be quite strong and unpleasant. Make sure to feed your starter regularly and that it is kept at a temperature conducive to activity.
“Remember, patience is key when creating a sourdough starter. Each batch can be a little different due to environmental factors, so don’t lose hope!”
While troubleshooting issues, be sure to document your observations and feeding schedule! This will help identify patterns and improve future batches.
If your starter has an overly acidic smell, this might indicate it’s been left unattended for too long. You can strain off some liquid and feed it to recalibrate the acidity level. Also, always use clean utensils when feeding your starter to prevent contamination, and try using filtered water instead of tap water if you notice persistent issues.
In the event of any unusual odor or a change in appearance, it’s best to err on the safe side. If in doubt, throw it out! Afterward, start fresh with your sourdough starter recipe and try again. Happy baking!
Delicious Recipes to Use with Your Active Sourdough Starter
Transform Your Sourdough Starter into Culinary Delights
Say Hello to Sourdough Pancakes
Are you looking to elevate your breakfast game? Sourdough pancakes are an absolute game changer. They have a fluffy texture with a hint of tang, thanks to your active sourdough starter. To make these pancakes, combine 1 cup of your sourdough starter, 1 cup of milk, 1 egg, and a tablespoon of melted butter. Then mix in a cup of flour and a pinch of salt to create your batter. Cook on a hot griddle and enjoy with your favorite toppings!
This recipe is a fantastic way to use up a bit of your starter while making something delicious.
- Use homemade fruit compote for an extra sweet touch.
- Top with whipped cream for an indulgent experience.
- Add chocolate chips for a decadent twist!
- 1. Allow the pancakes to rest for a few minutes to enhance the flavor.
- 2. Use a non-stick pan or griddle for the best results.
- 3. Serve immediately for the fluffiest pancakes.
Sourdough pancakes will become a family favorite that you won’t want to miss out on!
Hearty Sourdough Bread
Of course, the best use of your active sourdough starter is in classic sourdough bread. To make this, combine 1 cup of starter with 1 cup of water, 3 cups of flour, and a teaspoon of salt. Knead your dough until it’s smooth, let it rise for several hours, then bake it in a preheated oven. The aroma that fills your home will be heavenly!
Fresh sourdough bread can be stored in a brown paper bag for several days, keeping that crust crispy!
Using your active sourdough starter opens up a world of culinary possibilities. Whether you’re preparing fluffy pancakes or baking fresh bread, the distinctive flavor it adds is unmatched. So get in the kitchen and start experimenting; your taste buds will thank you!